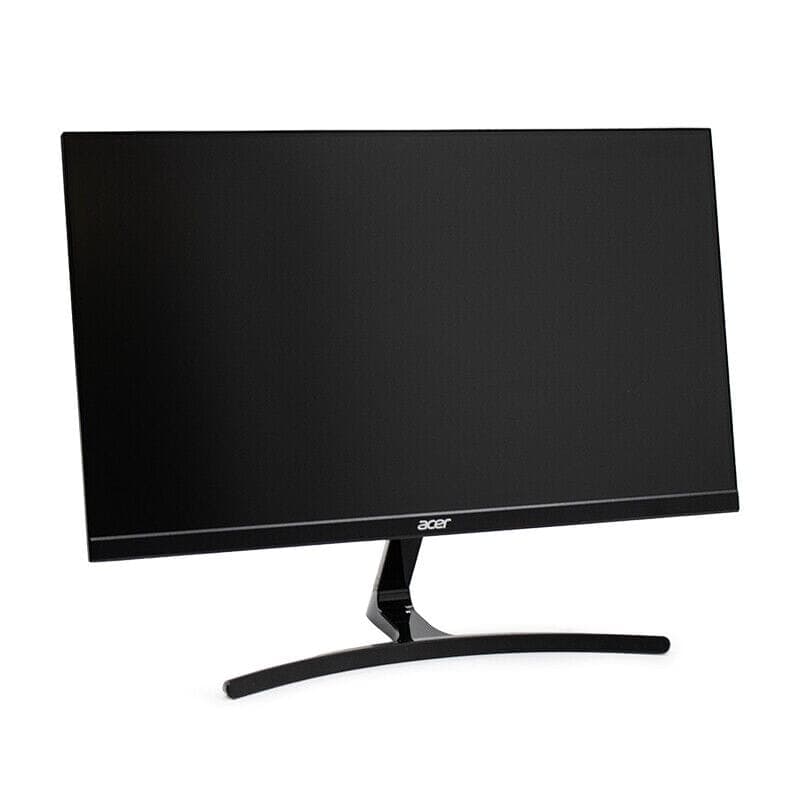
Are you frustrated because your Acer monitor won’t connect with HDMI? This issue is more common than you think.
Let’s dive into why this happens. HDMI connections are vital for displaying high-quality images and sound. But sometimes, even the best tech can fail. If your Acer monitor is not connecting with HDMI, several reasons could be at play. Faulty cables, outdated drivers, or incorrect settings might be the culprits.
Understanding these issues can save you time and stress. In this blog, we’ll explore the common causes and simple solutions to fix your HDMI connection problem. So, if you’re ready to troubleshoot and get your monitor working again, keep reading.
Check Hdmi Cable
If your Acer monitor is not connecting with HDMI, the cable might be the issue. A faulty or damaged HDMI cable can disrupt the signal. This can cause the monitor to display a “No Signal” message. Inspecting and possibly replacing the HDMI cable can solve the problem.
Inspect For Damage
First, inspect the HDMI cable for any visible damage. Look for cuts, bends, or frayed ends. These can interrupt the connection. Check both ends of the cable for any wear and tear. Sometimes, minor damage can cause big problems.
Next, ensure the HDMI connector pins are not bent or broken. Damaged pins can prevent a proper connection. If you see any damage, it is best to replace the cable. Using a damaged cable can worsen the issue and affect other devices.
Try A Different Cable
If you find no visible damage, try using a different HDMI cable. Sometimes, the cable might look fine but still have internal issues. Borrow an HDMI cable from another device or buy a new one. Connect the new cable to your monitor and your device.
Check if the monitor displays the signal now. If it does, the old cable was the problem. Using a new HDMI cable can often solve connection issues. Always keep a spare HDMI cable handy for such situations.

Credit: www.youtube.com
Verify Hdmi Port
If your Acer monitor is not connecting via HDMI, one of the first things you should check is the HDMI port itself. Issues with the port can prevent a proper connection. This can be due to dirt, damage, or other obstructions.
Clean The Port
A dirty HDMI port can disrupt the connection. Dust and debris can accumulate and create barriers. Use a can of compressed air to gently clean out the port.
If you don’t have compressed air, a soft brush can work too. Be careful not to push dirt further inside.
I once had a similar issue with my monitor. After a quick cleaning, the connection was restored immediately. Have you checked your port lately?
Test Other Ports
Sometimes the problem isn’t with the HDMI port itself but with the specific port you are using. If your monitor has multiple HDMI ports, try switching to another one.
This step can help you identify if the issue is isolated to one port. If another port works, you may need to get the faulty one repaired.
Testing other ports can save you time and money. Why replace your monitor when it could be a simple port issue?
Adjust Display Settings
Adjusting the display settings can help fix the HDMI connection issue on your Acer monitor. Sometimes the monitor doesn’t recognize the input, or the resolution settings may be incorrect. Let’s explore the steps to adjust the display settings effectively.
Set Correct Input Source
First, make sure your monitor is set to the correct input source. Monitors often have multiple input options like VGA, DisplayPort, and HDMI. Use the monitor’s menu buttons to select HDMI as the input source.
If the monitor doesn’t display anything, try switching between different HDMI ports on the monitor. This can help determine if a specific port is not functioning correctly.
Change Resolution
Next, check the resolution settings on your computer. Sometimes, the monitor might not support the resolution set by your computer. Go to the display settings on your computer and select a lower resolution.
After changing the resolution, check if the monitor starts displaying content. If it works, gradually increase the resolution to find the highest setting supported by the monitor.
Ensure that the refresh rate is compatible with the monitor. A mismatched refresh rate can cause display issues.
Update Graphics Drivers
Your Acer monitor may not connect with HDMI due to outdated graphics drivers. Updating your graphics drivers can resolve this issue and improve your monitor’s performance. Graphics drivers play a crucial role in maintaining the connection between your monitor and computer. Ensuring that these drivers are up-to-date can help prevent connectivity problems.
Check For Updates
Install Latest Drivers
If updates are available, proceed to install the latest drivers. Follow the on-screen instructions to complete the installation. Restart your computer to apply the changes. Once the update is complete, try connecting your Acer monitor with HDMI again. Updated drivers can resolve connectivity issues and enhance your monitor’s performance.
“`Restart Devices
If your Acer monitor isn’t connecting via HDMI, a simple restart of your devices might just do the trick. Restarting can often resolve issues that seem complex at first glance. It’s a quick and easy step that you should definitely try before diving into more detailed troubleshooting.
Power Cycle Monitor
Let’s start by power cycling your monitor. Unplug the monitor from the power source. Wait for about 30 seconds to a minute.
This short break allows the monitor’s internal memory to clear, which can resolve minor connectivity issues.
After the wait, plug the monitor back in and turn it on. Check if the HDMI connection is recognized.
Restart Computer
Next, restart your computer. A fresh reboot can clear out temporary glitches and reset the system settings.
Make sure to save any important work before you restart. After the restart, check if the monitor connects via HDMI.
This can be especially helpful if you recently installed new software or updates. It’s amazing how often a simple restart can resolve seemingly complex issues. Have you tried this before and found it worked? Let us know in the comments!

Credit: www.reddit.com
Test On Another Device
Sometimes your Acer monitor may not connect via HDMI. Testing on another device can help. This step is crucial to identify if the issue lies with the monitor, the HDMI cable, or the computer.
Connect To Different Computer
First, try connecting the Acer monitor to a different computer. Use the same HDMI cable. If the monitor works, the problem is likely with your original computer. You might need to check the HDMI port or settings.
If the monitor does not work with another computer, the issue could be with the monitor. This test helps narrow down the cause of the problem.
Use Another Monitor
Next, use another monitor with the same HDMI cable and computer. If this monitor works, the issue is with the Acer monitor. There could be a hardware issue. Contact Acer support for further help.
If the other monitor also fails to connect, the HDMI cable or the computer might be faulty. Try using a different HDMI cable. If the problem persists, check the computer’s HDMI port.
Check Power Supply
Having issues with your Acer monitor not connecting via HDMI? Start by checking the power supply. Often, a simple power issue can be the root cause. A secure and stable power connection is crucial for your monitor’s performance.
Ensure Proper Connection
First, make sure the power cable is securely connected to your monitor. A loose connection can disrupt the power flow. Also, check that the other end of the power cable is firmly plugged into the wall socket. A shaky connection here can also cause problems.
Test With Another Adapter
If the connection seems fine, try using a different power adapter. Sometimes, faulty adapters can cause power issues. Borrow one from another device if you have a compatible adapter available. This quick test can help pinpoint the issue.

Credit: pcoutlet.com
Reset Monitor Settings
Resetting your Acer monitor’s settings can solve HDMI connectivity issues. Sometimes, incorrect settings can prevent the monitor from displaying content via HDMI. Resetting to factory settings and adjusting default settings can help.
Factory Reset
A factory reset can restore your monitor to its original settings. This process can resolve conflicts caused by recent changes. To perform a factory reset, press the menu button on your monitor. Navigate to the settings menu and select ‘Reset’. Confirm the reset and wait for the monitor to restart. This action will erase any custom settings.
Adjust Default Settings
After a factory reset, you may need to adjust default settings. Check the input source and ensure it is set to HDMI. Access the settings menu, then go to the input source option. Select HDMI and save your changes. This will direct the monitor to use the HDMI port for display.
Additionally, verify that the resolution and refresh rate match the capabilities of your monitor. Incorrect settings can prevent the monitor from displaying content. Adjust these settings through your computer’s display settings. Ensure the resolution and refresh rate are within your monitor’s supported range.
Frequently Asked Questions
Why Is My Acer Monitor Not Connecting To Hdmi?
Your Acer monitor may not connect to HDMI due to a faulty cable, incorrect input source, or outdated drivers. Ensure the cable is securely connected and select the correct input source. Update the monitor and graphics card drivers.
Why Is My Monitor Not Picking Up Hdmi Signal?
Your monitor may not pick up HDMI signal due to loose connections, faulty cables, incorrect input settings, or outdated drivers. Check connections and update drivers.
Why Is My Acer Monitor Not Displaying?
Your Acer monitor may not display due to loose connections, incorrect input source, outdated drivers, or hardware issues. Check connections and settings.
Why Is My Display To Hdmi Monitor Not Working?
Your display to HDMI monitor might not work due to loose connections, faulty cables, outdated drivers, or incorrect input settings.
Conclusion
Troubleshooting your Acer monitor can feel frustrating. Always check your HDMI connection first. Ensure cables are secure and undamaged. Test with a different HDMI cable if needed. Verify your computer’s settings and update drivers. Restart both devices. Simple steps can often solve the problem.
If issues persist, seek professional help. Keeping your equipment in good shape ensures a smooth experience. Don’t let minor issues disrupt your day. Stay patient and methodical in your approach. Remember, solving tech problems gets easier with practice.
